
 EN
EN
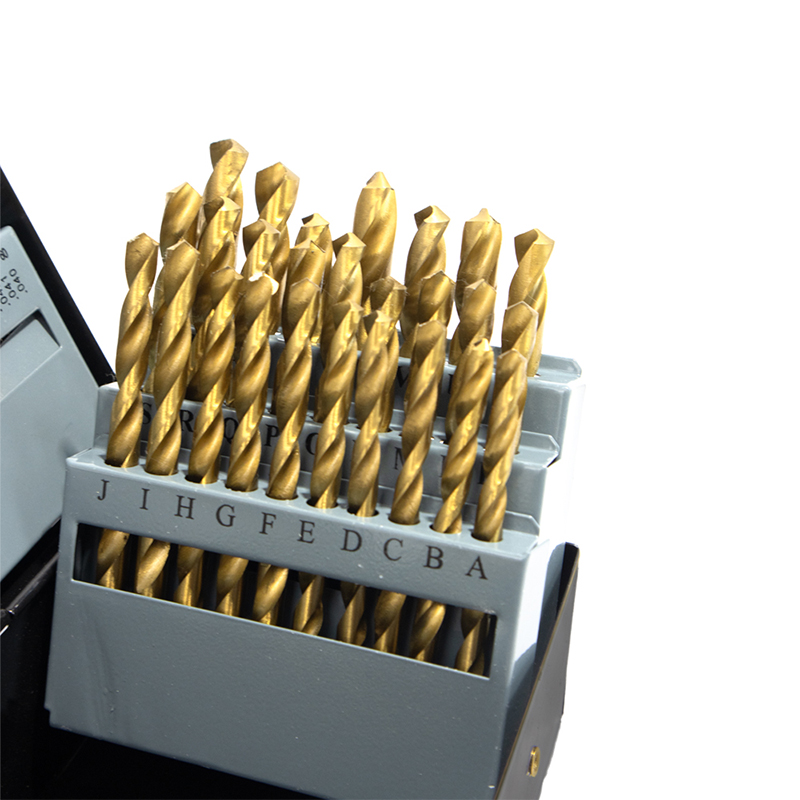
Dull drill bits are one of the most common frustrations in DIY projects and home workshops. When your drill bits lose their sharpness, drilling becomes slower, requires excessive pressure, and produces poor-quality holes in wood, metal, or plastic. Many homeowners assume that dull drill bits must be replaced entirely, but the truth is that most drill bits can be restored to like-new condition with proper sharpening techniques performed right at home. Learning how to sharpen dull drill bits can save you significant money, reduce waste, and ensure your projects stay on schedule without waiting for replacement tools to arrive.
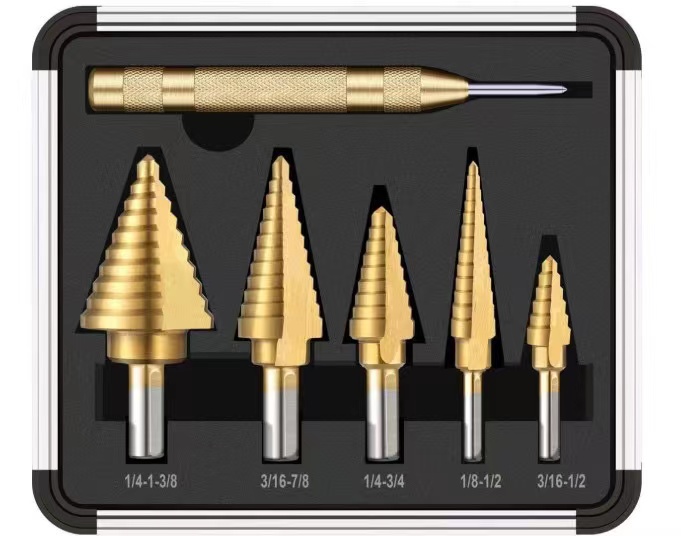
Understanding how to maintain and sharpen your drill bits extends their operational life dramatically. Professional contractors and experienced DIY enthusiasts recognize that sharpening drill bits is a fundamental maintenance skill that pays dividends over time. Whether you work with steel drill bits, cobalt-coated options, or titanium-coated drill bits, the core sharpening principles remain consistent. By mastering these techniques, you gain independence from constant tool replacement cycles and develop the confidence to tackle any drilling project with sharp, reliable tools.
Understanding Why Drill Bits Become Dull
Common Causes of Dulling
Drill bits naturally dull through regular use as their cutting edges encounter friction and material resistance. The primary culprit is continuous contact between the bit's flutes and the workpiece material, which gradually wears away the sharp cutting surface. Heat generation during drilling accelerates this dulling process, especially when drilling bits operate at high speeds without adequate cooling. Forcing drill bits through hard materials like dense metal or stone without proper technique also hastens edge degradation.
Hitting hidden nails, screws, or metal inclusions within wood can cause sudden chipping or flattening of drill bit edges. Improper storage that allows drill bits to bang against other tools creates microscopic damage that compounds over time. Drilling bits that have been stored in humid environments may develop corrosion on their cutting edges, reducing their effectiveness and making sharpening more challenging. Recognizing these causes helps you understand why maintaining sharp drill bits requires both proper technique during use and proactive care during storage.
Signs Your Drill Bits Need Sharpening
The most obvious sign that your drill bits need attention is when drilling becomes noticeably slower despite normal pressure application. If the drill is spinning freely but barely advancing through the material, dull drill bits are almost certainly the cause. Excessive smoke or charring around the hole indicates friction from dull drill bits generating dangerous heat levels. Holes that appear rough, torn, or poorly defined at the edges suggest that drill bits have lost their cutting precision.
Another reliable indicator is when using drill bits requires continuous downward force to maintain drilling progress. Fresh drill bits should pull themselves into material through their cutting action alone. If you notice walking or wandering at the start of each hole, where drill bits slip sideways before catching, this often signals dulled cutting edges. Regular inspection of your drill bits under good lighting lets you spot flattened or discolored cutting tips before they become problematic.
Essential Sharpening Techniques for Drill Bits
Using a Bench Grinder for Professional Results
A bench grinder remains the most effective and fastest method for sharpening drill bits at home. This approach works well because the grinder's rotating wheel removes metal efficiently while allowing you to control the grinding angle precisely. Start by securing your bench grinder to a stable work surface and ensuring it has a fine-grit wheel appropriate for metal work. Before starting, mark the cutting edges of your dull drill bits with a marker so you can see exactly where material is being removed during sharpening.
Hold each drill bit at the correct angle, typically around 118 degrees for standard drill bits, which matches their original factory geometry. Position the cutting lip against the wheel's edge and apply gentle, consistent pressure while rotating the bit slowly. Make multiple light passes rather than forcing the bit hard against the wheel, as excessive heat can damage the bit's temper and reduce its hardness. After sharpening each flute, allow the drill bits to cool completely before testing them, as working with hot drill bits risks both personal injury and metal damage.
Hand Filing Method for Precision Work
For those without access to a bench grinder, careful hand filing provides a viable alternative for sharpening drill bits at home. This technique requires a fine-toothed metal file and significant patience, but produces excellent results when done properly. Secure your drill bits in a bench vise and examine the cutting edges closely through magnification if possible. File the cutting edge of each flute using smooth, controlled strokes that follow the bit's natural geometry.
The hand filing method allows exceptional control over exactly how much material you remove from dull drill bits. This precision matters because removing too much material changes the bit's cutting geometry and reduces its effectiveness. Work slowly and deliberately, checking your progress frequently by examining the cutting edge. File until you achieve a consistent, sharp edge across both cutting surfaces of your drill bits.
Stone or Whetstone Sharpening
Oil stones or diamond whetstones offer another home-friendly option for maintaining your drill bits. This method works best for touch-ups on drill bits that are beginning to dull rather than severely damaged specimens. Soak your stone in the appropriate oil or water as required by your stone type, then position your drill bits against the stone at the correct angle. Use smooth, deliberate strokes to hone the cutting edge while maintaining consistent pressure and angle throughout.
Stones and whetstones work more slowly than grinders, but many experienced craftspeople prefer this method because it allows incredible precision and rarely damages drill bits through overheating. The tactile feedback from working with drill bits on stone helps you develop intuition about edge sharpness and proper technique. Regular maintenance using this method keeps your drill bits sharper longer and prevents the need for more aggressive grinding later.
Best Practices and Safety Considerations
Maintaining Consistent Angle and Geometry
The most critical factor when sharpening drill bits is maintaining the original cutting angle and geometry throughout the process. Deviating from the correct angle ruins the bit's cutting performance and wastes metal. Standard twist drill bits typically have a 118-degree point angle, though some specialty drill bits may differ. Always research the specific geometry for your drill bits before sharpening to ensure accuracy.
Use angle guides or fixtures when possible to help hold drill bits at the correct angle while working. Many experienced users create simple jigs or use specialized drill bit sharpening guides available at tool suppliers. Maintaining both cutting flutes at identical angles ensures balanced cutting action and prevents drill bits from walking or producing misaligned holes. Quality sharpening takes time, but consistent results save you from repeatedly sharpening the same drill bits.
Cooling and Safety Protocol
Always allow freshly sharpened drill bits to cool completely before handling or testing them in actual drilling applications. Hot drill bits can burn your hands and may lose their hardened temper if cooled too quickly. Wear appropriate safety equipment including eye protection when using grinders, as small metal particles can become dangerous projectiles. Never wear loose clothing or jewelry that might catch in rotating equipment.
Keep your work area clean and organized, with all sharpening equipment properly secured and functioning correctly. Test your sharpened drill bits on scrap material first before using them on your actual project work. This approach lets you verify that your sharpening was successful and that the drill bits are performing at their best. Always store your drill bits safely after sharpening, keeping them separated in storage cases to prevent them from damaging each other.
Recognizing When Replacement Is Necessary
While most drill bits can be sharpened multiple times, some damage is irreparable and requires replacement. Severely chipped or cracked drill bits should not be sharpened, as the damage compromises structural integrity. Drill bits that have been bent or twisted cannot be restored to proper working condition. If your drill bits have lost significant length due to previous sharpening or damage, replacement becomes more economical than continued maintenance.
Consider investing in high-quality drill bits like drill bits that resist dulling longer and maintain their edges through extended use. Premium materials and coatings mean fewer sharpening sessions and longer service life. However, even the finest drill bits eventually need sharpening, so developing proper maintenance skills benefits all your tools.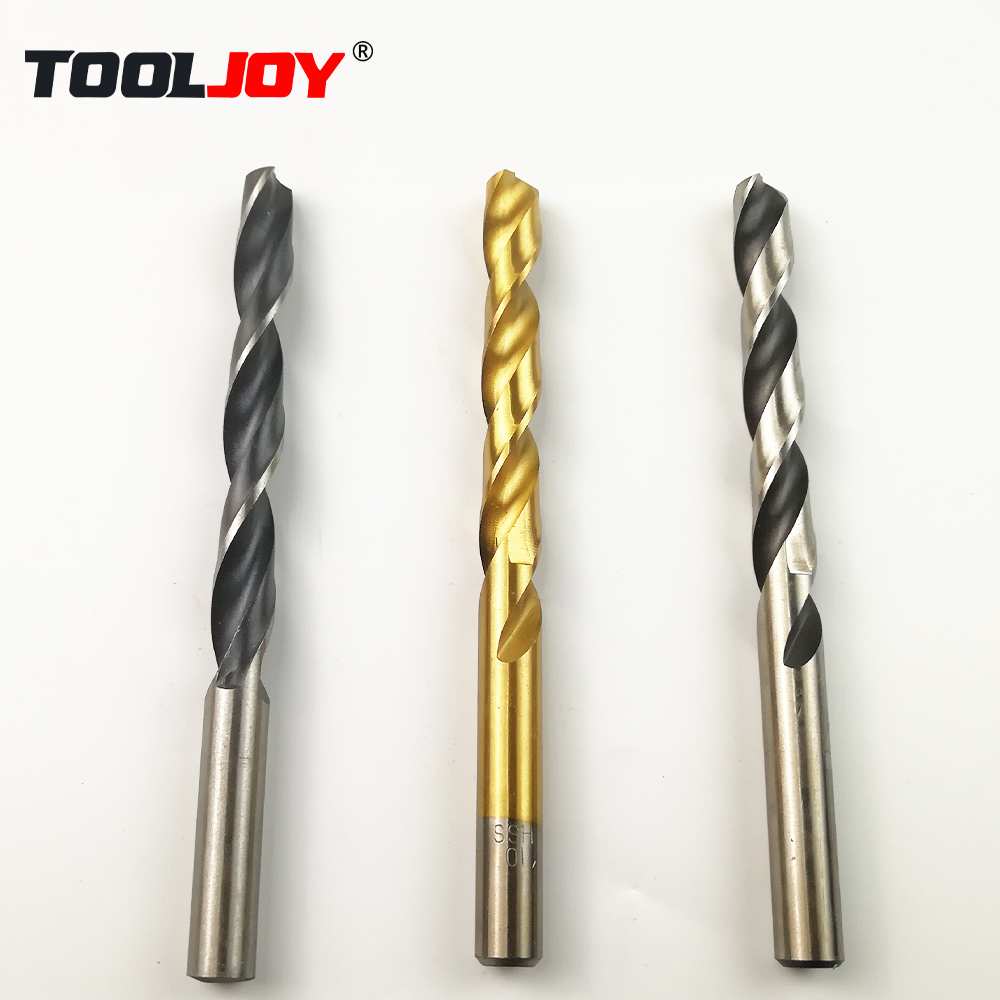
FAQ
How often should I sharpen my drill bits?
The frequency depends on how heavily you use your drill bits and what materials you drill. Casual DIY users might sharpen their drill bits once or twice per year, while professional contractors may sharpen drill bits daily or weekly. Monitor your drill bits for the performance signs mentioned earlier and sharpen when you notice decreased cutting efficiency rather than following a rigid schedule.
Can I sharpen damaged or chipped drill bits?
Minor chips can sometimes be ground away when sharpening, but severely chipped or cracked drill bits should be replaced rather than sharpened. If the damage is small enough that removing it still leaves adequate bit length and maintains proper geometry, sharpening may be possible. However, if the chip is large or the bit is already short from previous sharpening, replacement is the safer and more practical choice.
What's the best sharpening method for beginners?
Stone or whetstone sharpening offers the gentlest learning curve because it works slowly and provides excellent control. Starting with this method helps you develop the muscle memory and intuition for holding drill bits at the correct angle. Once comfortable with hand sharpening, you can progress to faster methods like bench grinding. Many experts recommend learning multiple techniques so you can adapt to whatever equipment is available.